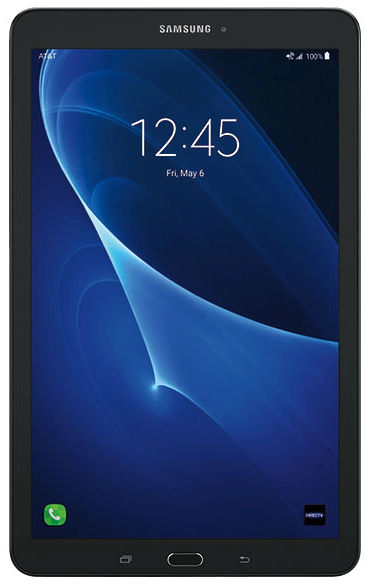
Tablet or smartphone repair is not fun, I hate it! That said, I managed a creative solution for my old Samsung Galaxy E 9.6 which I'd recently had to replace the battery on.
Removing the old battery and installing a new one was relatively easy. Carefully pry open the tablet, taking care to not damage its electronic internals, remove the old battery, install the new one, then close it up. Right?
Unfortunately, that turned out to be a best case scenario which was made worse thanks to the ribbon connector circled below.
It wasn't the connector itself (fortunately the individual pins were intact), but the incredibly, aggravatingly delicate piece of plastic designed to snap atop the cable to connect solidly to the motherboard pins, also known formally as a ribbon cable snap.
I spent about an hour with a jeweler's loupe which clips on to a temple piece of your eyeglasses making like Popeye the sailor man and zooming in with one eye on the incredibly tiny pins trying to get a replacement ribbon connector clip (cannibalized from a nearly identical tablet purchased cheap off eBay due to a cracked and dead LCD screen) to assume the position.
Thanks to my frustration and a not quite true pair of forceps, I got nowhere. While the ribbon cable would slide in perfectly, without that infuriating clip in place I was unable to snap it down to make the connection hug between connector and motherboard. On top of that, the design of my tablet and the busted one was almost, but not quite, identical, and for all I knew the clip I salvaged might've been for a different type ribbon connector.
After that, I reflected on the fact that for a silly crafts-related idea I purchased a bag of miniature clay roof tiles meant for things like birdhouses, dollhouses, fake houses, train sets, and other realistic depictions of life in a smaller scale.
Next, I carefully inserted the ribbon cable in its socket on the tablet board and ensured it was in under the pins as level and far as possible. At bottom in the photo above is a similar sliver of tile which I placed so that the curve was facing up as shown below, and so the rather cylindrical little edge (referenced by red arrow) was applying pressure to the ribbon cable just like the flimsy plastic connector would by design.


